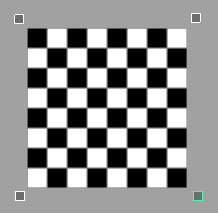
Liquid Simulation with nParticlesValid for: Maya 2009. Tools used: nParticles and nCloth. Goal: simulate a liquid with rigid objects and nCloth ones.  Global overview: In this tutorial we are going to see how to use and setup Maya nParticles for simulating a liquid. As for any other simulation in Maya the dynamics computations for nParticles are time dependant and need information from the previous frame to compute the current one. So it's important to use a "Play every frame" Playback Speed. Maya nParticles work exactly the same way as classical Maya Particles: there is an emitter and a flow of particles. The emitters attributes drive the emission part of the simulation (Speed, Rate, Direction, Spread ...) and the particles attributes drive the behavior and the aspect of the particles (Size, Type, Collisions, Lifespan, Dynamics, PPAttributes ...). As in the other dynamics simulation in Maya we can interfere and improve the simulation with fields like Air Turbulence Vortex. Now we can start the liquid simulation. The liquid simulation: Preparation step:
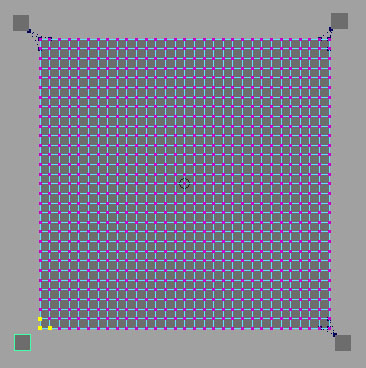
Result: 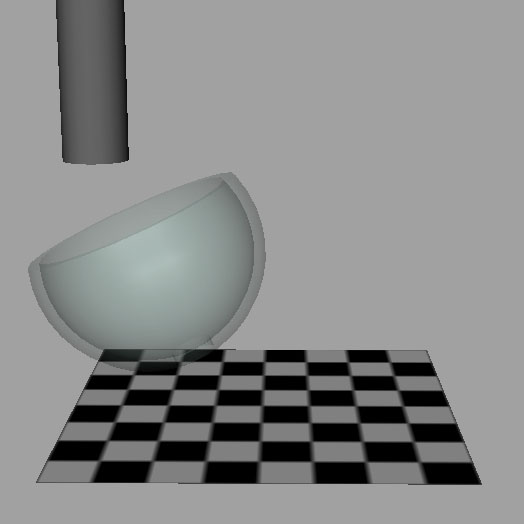 nCloth: Now we need to setup the nCloth object (the polygonal plane) in order to have a good simulation.
nParticles: The setup of the scene is finished. The next step is to create the liquid. In this exemple we don't use any emitter for our particles. We create them at the beginning so that all the particles are alive at the beginning and their number is constant. Note that you could use the same process with an emitter too.
Result : 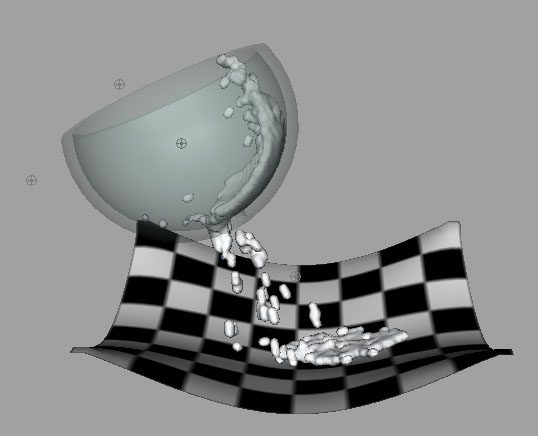 video 1: simulation without the liquid mesh. video 2: simulation with the liquid mesh which is quite blobby because of computation time constraints. That's all folks !!! Now you need to experiment to understand how to properly use the attributes. Copyright © Olivier Dumas Tutorial written by Olivier Dumas  |