Valid for:
Maya 8.5 and above. Tools used:
Maya Hair, Dynamic Fields. Goal: use Maya Dynamic Hair to animate a palm tree.
Important
In this tutorial we are going to see how to use and setup Maya Hair to drive
the animation of a palm tree. As for all dynamic simulations in Maya the computations are time
dependent and need information from the previous frame to compute the
current one. It's thus important to use a "Play Every Frame" Playback
Speed.
Before You Start
Before starting the animation setup of
the scene you need a palm-tree mesh. There are many approaches
to obtain one. Here is one way to create a cartoon style palm tree.
4 leaves
cartoon plam-tree modeling:
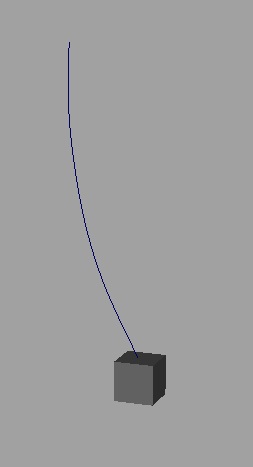
Create a polygonal cube and an EP-curve representing
the shape of the trunk.
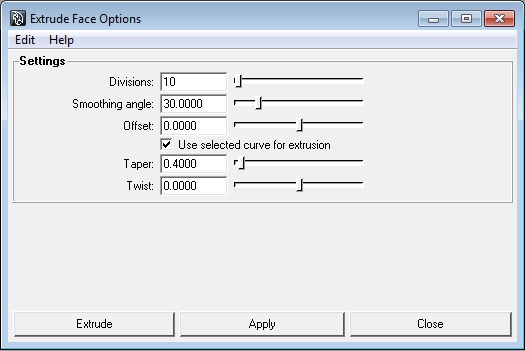
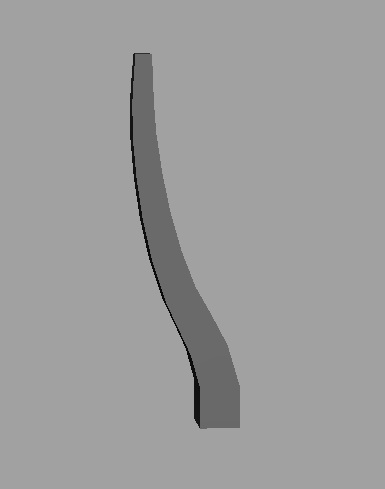
Extrude the top face
of the cube along
the curve. For this, select both components and go inside "Edit
Mesh->Extrude" options. Choose 6 or more for the number of "Divisions", select
"use selected curve for extrusion" and choose aroud "0.4" for Taper. Then, click on "Apply".
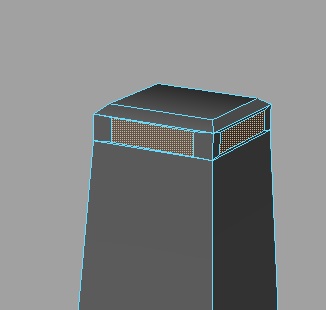
With a second extrude and a down scale on the result or with the split polygonal tool, draw on the 4 top
faces of the trunk the base for each leaf.
Like for the
trunk, create a curve representing the shape of each leaf and extrude
the faces along those curves. Do not
destroy the 4 curves.
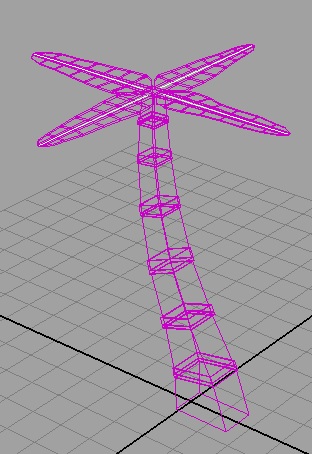
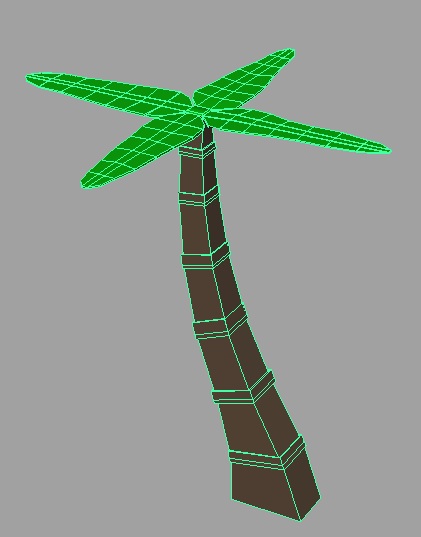
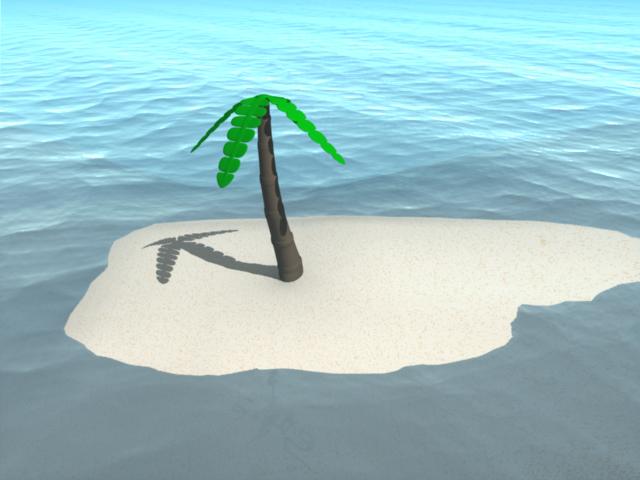
You can improve the leaves with some
additional extrudes to give them more volume. Here is the result with a
simple texture and the 4 construction curves used for the leaves.
Delete mesh history: Edit->Delete by Type->History.
Palm-Tree Dynamic Setup
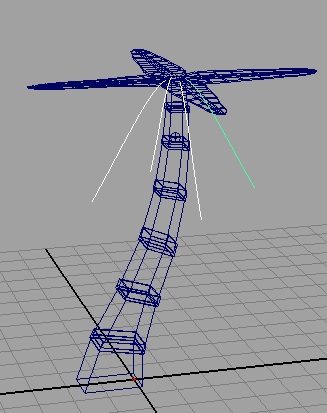
For each construction curve of the 4
leaves (If you do not have them you just have to create curves corresponding to the "spine" of the leaves):
Transform it in a dynamic curve
(follicle) with "Hair->Make Selected Curve Dynamic". If
you play the animation right now you should see the curve moving a little bit
while being hung by both ends.
To solve this problem: inside the
attribute editor in the tab "follicleShape" change "Follicle
Attributes->Point Lock->BothEnds" to "Base".
Now if you replay
the animation the follicles must only be attached to the trunk.
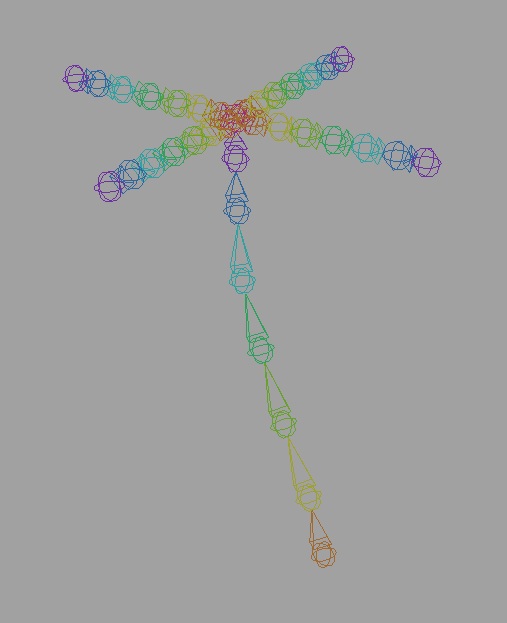
Palm-Tree Animation Setup
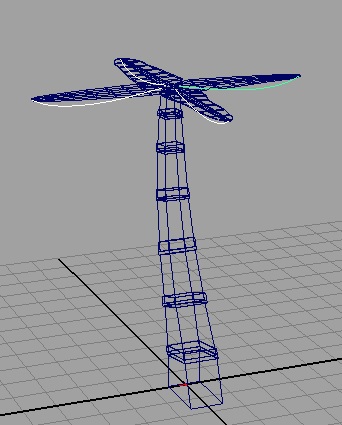
Create a joint skeleton with the root being at the
base of the trunk.
Now that we have an
animation skeleton we can connect the dynamic setup with the skeleton.
The Hair Setup
For
each leaf:
Go inside the
options of "Skeleton->IK Spline HandleTool" and uncheck "Auto
create curve".
Use the
"Skeleton->IK Spline
HandleTool": click on the first joint of the leaf, shift click on the last
joint and shift click on the follicle corresponding to the
construction curve.
Parent the follicle
of the leaf to the closest joint of the trunk (be careful not to parent
it to a joint of the leaf).
Do the skinning of
the tree with
"Skin->Bind Skin->Smooth Bind". Check the
weights for the leaves that are close to the trunk.
Improving the Movement with Dynamic Fields
As you have a dynamic simulation for the
leaves of
the palm-tree you can drive it with some dynamic field like air or
turbulence. To apply them, go in the outliner, select
the hair system node (probably "hairSystem1") and apply for
example "Fields->Air" and/or "Fields->Turbulence".
You then have to play with their
attributes in the Attribute Editor
For questions concerning this tutorial, contact maya